
Last updated: 6 August 2026. Entry rules change; confirm against the Bureau of Immigration and eTravel portal before you fly.
Some links on this page are affiliate links. If you book through them, IslaVisit earns a commission at no extra cost to you. How this works.
Take this checklist with you
A printable two-page version with tick boxes, covering documents, money, connectivity, bookings, insurance and packing. No email required.
Get new guides by email
A short note when we publish a new Philippines guide or update an old one with changed prices, routes or rules. No spam, unsubscribe any time.
We only use your address to send IslaVisit updates. See our privacy policy.
Quick answer: this Philippines travel planning checklist comes down to a handful of essentials. Before you fly to the Philippines, you need a passport valid 6+ months beyond your stay, a completed eTravel registration (done within 72 hours of arrival), proof of a return or onward ticket, some Philippine Pesos in cash, a plan for SIM/eSIM connectivity, your accommodation and inter-island transport booked ahead for peak season, travel insurance, and a packing list built for humidity, not for looking cute in autumn layers. Here is the full Philippines travel planning checklist, explained like a friend who already made the mistakes so you do not have to.
Here is the truth nobody tells you before your first Philippines trip: this country is not one destination, it is 7,641 islands wearing a trench coat and pretending to be one. That is amazing for your Instagram feed and slightly terrifying for your itinerary planning, because just wing it works fine in, say, Portugal, and works not at all here, where the ferry you did not book might simply not have a seat for you.
So lets fix that.
1. Documents and Entry Requirements
Lets get the boring-but-mandatory stuff out of the way first, because immigration counters are not the place to discover you forgot something.
Passport validity: your passport needs to be valid for at least 6 months beyond your intended stay. Immigration officers do check this, and it expires in 5 months and 3 weeks is not a negotiation you will win.
Visa-free entry: citizens of 150+ countries (including the US, UK, Canada, Australia, and the EU) can enter visa-free for up to 30 days for tourism. A few exceptions exist, Brazil and Israel get 59 days, while India and China currently get a 14-day visa-free window. If you are not sure where your passport falls, check with the Philippine Bureau of Immigration before you book anything irreversible.
eTravel registration (mandatory): this is the one people miss. Every arriving traveler, visa-free or not, must complete the free eTravel registration through the official government portal within 72 hours before arrival. It replaced the old paper arrival cards, and you will need the QR code it generates ready on your phone (or printed) before you reach the immigration counter. Only use the official eTravel site, copycat sites charging a processing fee exist, and the real one is free.
Return or onward ticket: airlines and immigration can ask to see proof you are leaving. A one-way ticket with no exit plan has genuinely gotten travelers denied boarding. Planning an open-ended trip? Book a fully refundable onward flight as a placeholder.
Search flights to the Philippines →
2. Money and Payments
The Philippines runs on the Philippine Peso (PHP), and while Manila, Cebu, and the bigger resort towns are increasingly card-friendly, the moment you step onto a boat to a smaller island, cash becomes king again. Tricycle drivers do not have a card reader. The guy selling the best halo-halo of your life does not have a card reader.
- Withdraw pesos from ATMs after arrival rather than exchanging large amounts at home, rates are usually better locally, and airport counters are the worst of the bunch.
- Tell your bank you are traveling, or you will be having a very fun phone call with fraud prevention from a beach in Coron.
- Carry small bills for boats, tricycles, and markets, nobody island-side can break a 1,000 peso note at 7am.
3. Connectivity: SIM or eSIM?
You will want data. Not just for Instagram, for Grab, for checking ferry schedules that change without warning, and for pulling up your eTravel QR code when your phone decides to go to 3% battery at exactly the wrong moment.
Physical SIM: Globe and Smart are the two major carriers, both sold at the airport arrivals hall. Cheap, reliable, and a great backup.
eSIM: if your phone supports it, activating an eSIM before departure means you land with data already working, genuinely useful when you are trying to find your driver at 11pm and do not want to hunt for a SIM kiosk first.
Compare Philippines eSIM plans →
4. Booking Accommodation Early (and Why It Actually Matters Here)
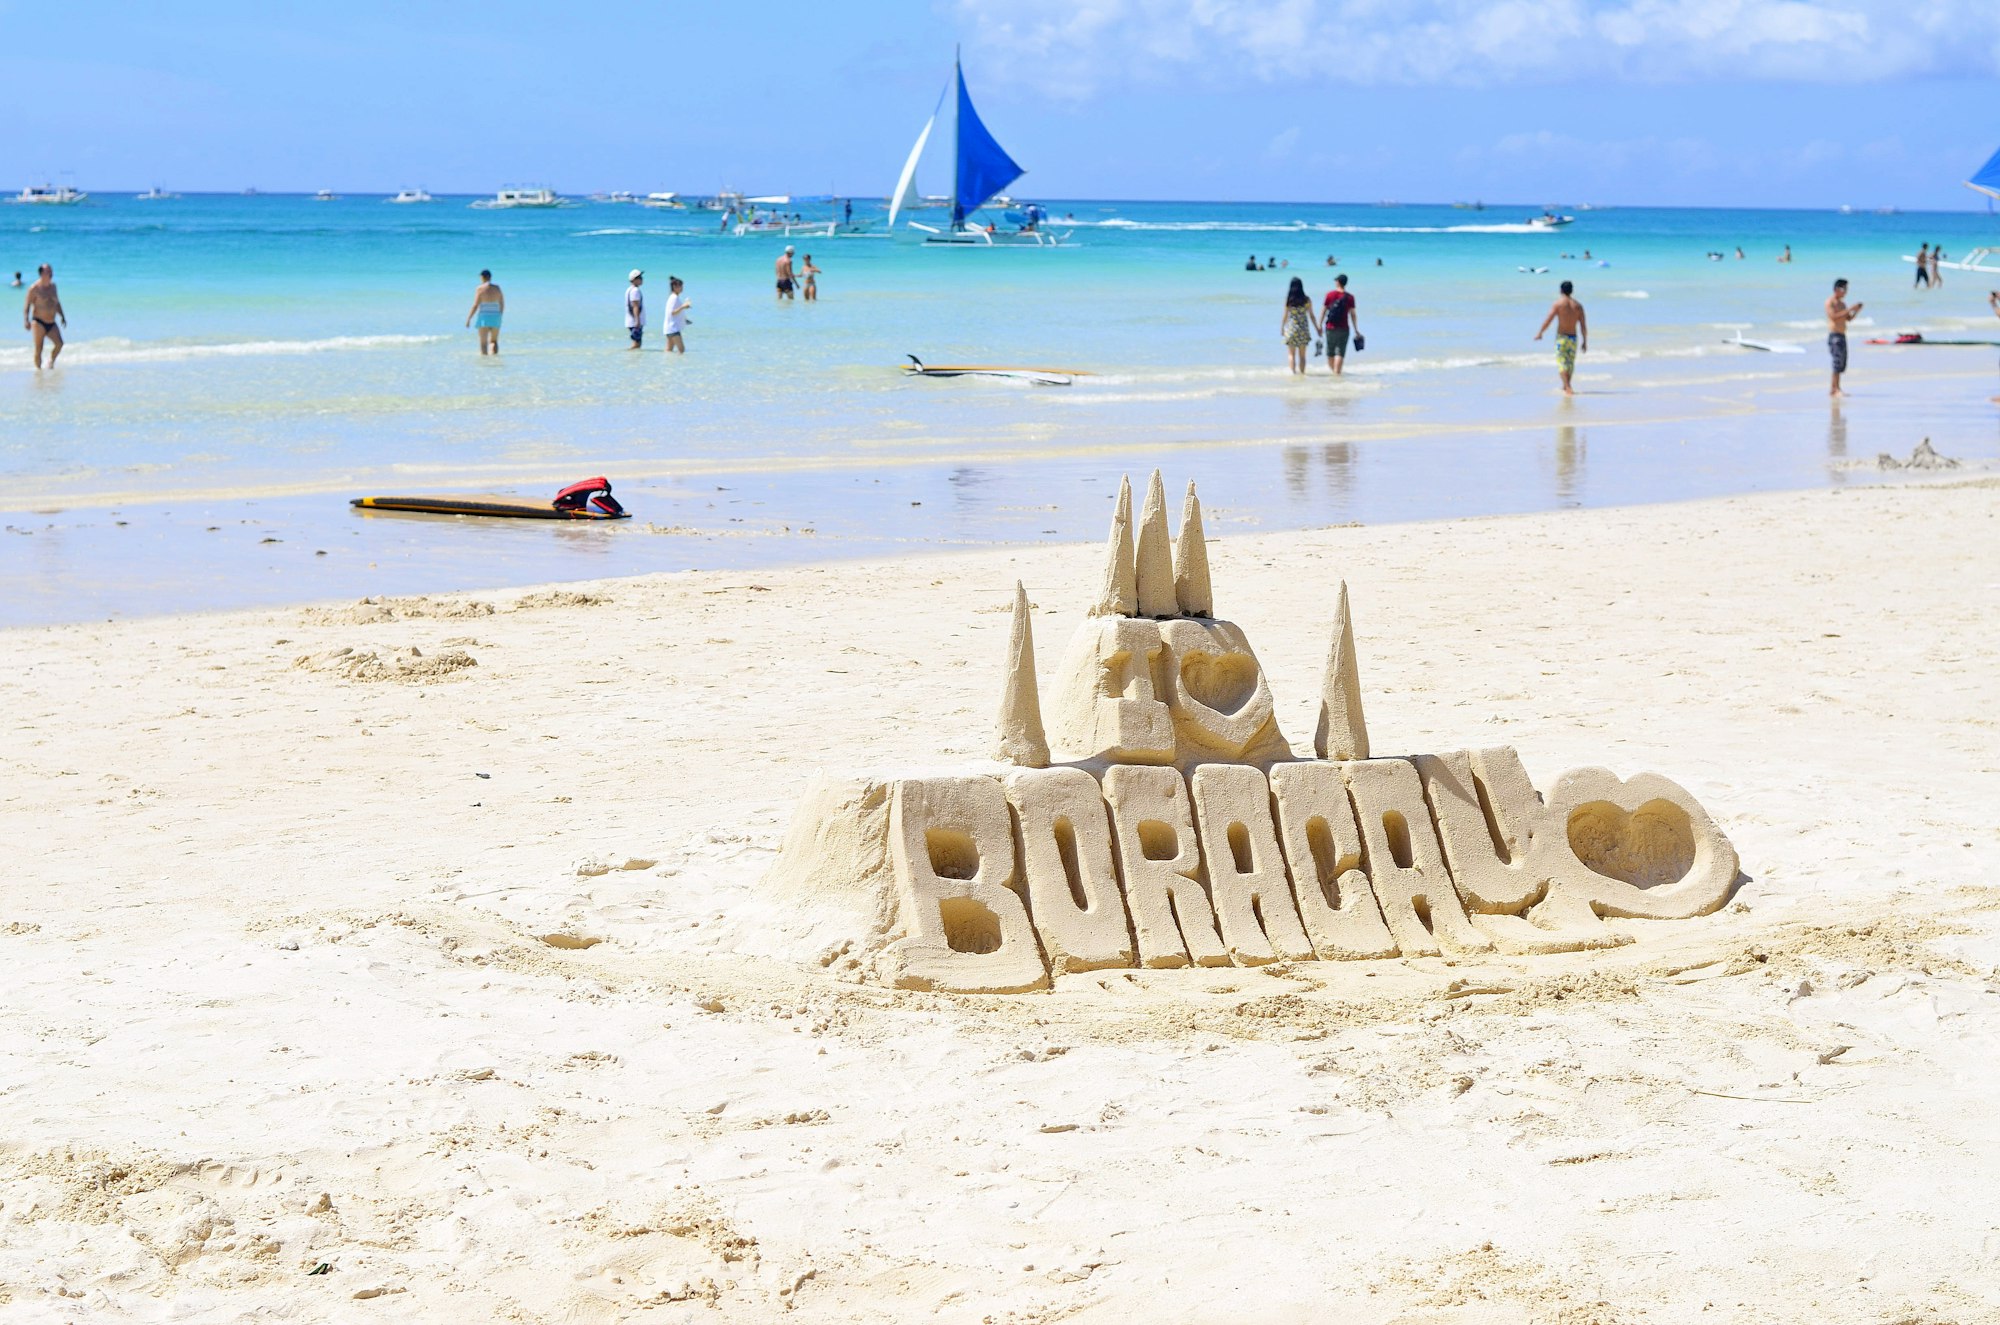
In a lot of countries, book accommodation a few days ahead is optional advice for the overly cautious. The Philippines is different during peak season, roughly December through April, plus Holy Week and Christmas/New Year. If your dates are still flexible, our month-by-month guide to the best time to visit El Nido breaks down how weather, crowds and prices shift across the year. Popular spots like El Nido, Coron, Boracay, and Siargao genuinely sell out. It is not that the good hotels disappear. Actual availability does, especially anything near town centers or beach access.
If you are building a multi-destination trip, book accommodation for at least your first few nights and any peak-season stops before you land. Stay flexible on the quieter, less-touristed stretches of your itinerary.
Compare El Nido hotels by budget →
5. Inter-Island Transport Planning
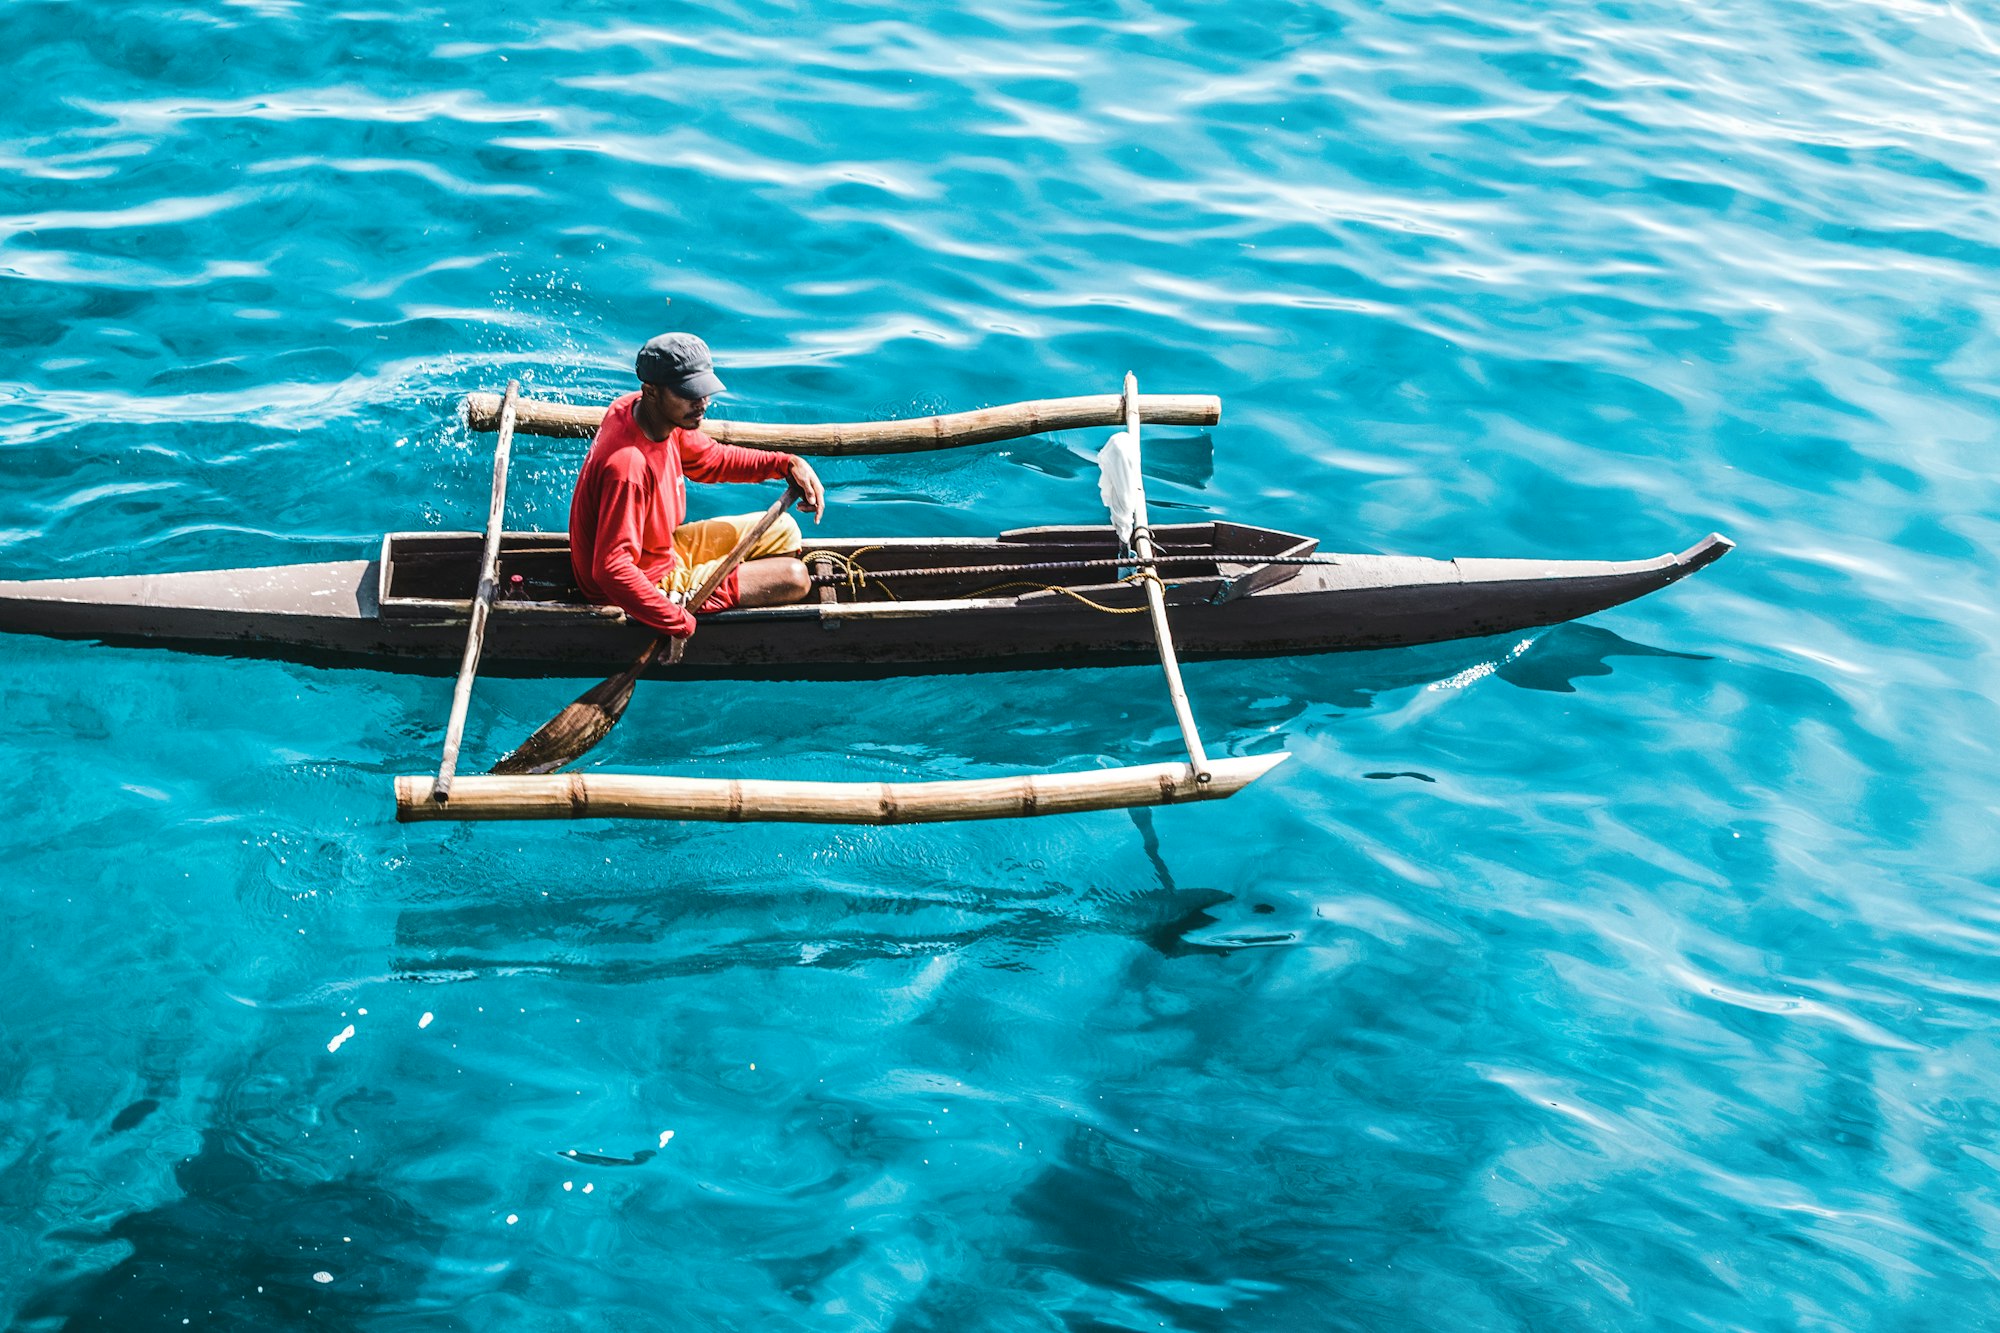
This is the part that actually separates a smooth Philippines trip from a stressful one. The Philippines moves people between islands via domestic flights (fast, but limited schedules), ferries (routes and frequency vary by season and weather), and bangkas (small outrigger boats, mostly for short hops and island-hopping tours).
Popular routes, like Manila to El Nido via Puerto Princesa, or Cebu to Bohol, can book out during peak weeks, and weather can cancel ferries with little notice during typhoon season (roughly June to November). Build in buffer days between island-hop connections rather than stacking flights back-to-back with zero slack.
Check ferry and domestic flight options →
6. Travel Insurance
We are not going to guilt-trip you about this one. We will just say it plainly: get travel insurance. It is not because the Philippines is unusually dangerous, because it is not. It is because you will be island-hopping by boat, maybe renting a motorbike, and jumping off waterfalls. The good hospitals here are excellent, but they may not be nearby if you are three islands deep into your itinerary.
Look for a plan that covers medical treatment and evacuation, trip cancellation (hello, cancelled ferries), adventure activities, and lost or delayed baggage.
See Philippines travel insurance options →
7. Health and Safety Basics
Nothing here should scare you off. Millions of tourists have a completely uneventful trip every year, but a little prep goes a long way. There are no mandatory vaccines for most travelers as of 2026, though routine vaccines should be up to date. Mosquito-borne illness like dengue is a year-round consideration, more so in rainy season, so repellent is not optional gear, it is a packing-list headliner. Stick to bottled or filtered water. And use official transport, like Grab or hotel-arranged transfers, rather than unlicensed helpers who approach you at airports.
8. What to Pack
The Philippines will humble anyone who packs like they are going somewhere temperate. It is hot, it is humid, and it will occasionally dump an entire monsoon on you with zero warning.
The non-negotiables: lightweight, breathable clothing; a proper rain layer (not just an umbrella, especially June to November); reef-safe sunscreen; a dry bag for boat trips; a power bank; a universal adapter (Type A/B/C, 220V); sandals that can get wet, plus one sturdier pair for hikes; and insect repellent.
The stuff people forget until it is too late: a printed or offline copy of your eTravel QR code and hotel confirmations, ziplock bags (for literally everything), and a basic first-aid kit with rehydration salts.
Two Weeks Before You Fly, The Sanity-Check List
- Passport valid 6+ months past your return date
- eTravel registration completed (within 72 hrs of arrival)
- Return/onward ticket booked
- Accommodation booked for peak-season stops
- Inter-island transport (flights/ferries) booked with buffer days
- Travel insurance purchased
- eSIM or SIM plan sorted
- Bank notified of travel dates
- Copies of key documents saved offline
- Packing list gear actually purchased, not just bookmarked
If everything above is checked, you are in genuinely better shape than most travelers who show up here. Congratulations, you read the whole checklist instead of just the headers.
Sources we checked: Visa-free stay lengths, including the 30-day standard and the 59-day arrangement for Brazil and Israel, are set out in the Department of Foreign Affairs visa policy under Executive Order 408. The 72-hour registration window, and the fact that registration costs nothing, come from the official eTravel portal FAQ. Entry rules change, so confirm both before you fly. Checked 15 September 2026.
FAQ
Do I need a visa to visit the Philippines?
Most nationalities, including the US, UK, Canada, Australia, and EU countries, get 30 days visa-free for tourism. Always verify your specific nationality current rule before booking.
What is eTravel and is it really mandatory?
Yes. It is a free government registration required of essentially all arriving and departing travelers, completed online within 72 hours of your flight. It is not a visa, it is a border-control and data form that generates a QR code you will show at immigration.
Is the Philippines cash-only?
Cities and resorts increasingly accept cards, but smaller islands, tricycles, and markets are still largely cash-based. Carry pesos, especially small bills.
How far ahead should I book inter-island transport?
For peak season (Dec to April, Holy Week, Christmas/New Year), book flights and ferries as early as you book your international flight. Off-peak, a week or two ahead is usually fine.
Is the Philippines safe for solo travelers?
Generally yes, with normal travel-safety precautions, avoid isolated areas at night, use licensed transport, and do not accept food, drinks, or rides from strangers you have just met.
Affiliate Disclosure: Some links on this page are affiliate links. If you book or purchase through them, IslaVisit may earn a small commission at no additional cost to you. Our recommendations are based on usefulness and suitability for travelers, not solely on commission.
Last checked: July 2026. Entry requirements, prices, and schedules change, always confirm current rules on the official eTravel and Bureau of Immigration sites before booking.
Keep planning
Download this checklist as a printable PDF
- Cost the whole trip: Philippines travel budget guide
- Choose where to stay in Palawan: Best hotels in El Nido
- Work out your route into Palawan: How to get to El Nido
- Choose your tour days: El Nido island hopping: Tours A, B, C and D
- Time your trip around weather and crowds: Best time to visit El Nido, month by month